Taints and Tolerations — Kubernetes

Always learning
3 min readDec 5, 2023

Taints and Tolerations the main goal of this feature was to prevent unwanted pods from being scheduled on some particular nodes.

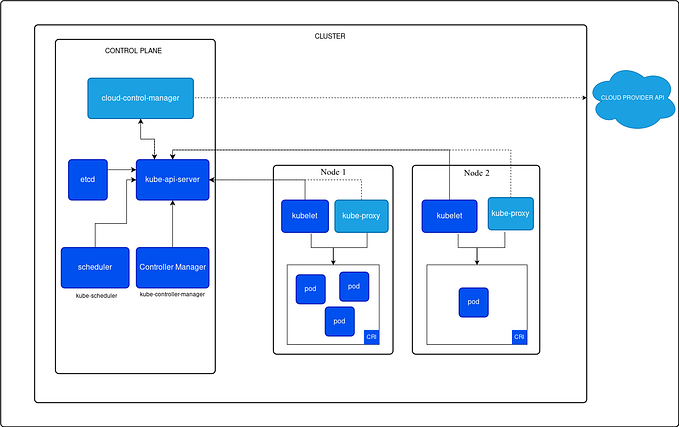
Kubernetes also used this feature to prevent pods from being scheduled on the master node and to ensure the master node was free from taking on workloads.

Taints and Tolerations are used to set restrictions on what pods can be shared on that node.

Taints are generally applied on nodes to prevent unwanted scheduling, tolerations are applied on pods to allow them to be scheduled on nodes that have taints.

buymeacoffee ☕ 👈 Click the link

What is Scheduling?

Scheduling isn’t about timing, but about ensuring that pods are matched to nodes.

When we create a pod, the scheduler in the control plane looks at the nodes and verifies available resources and other conditions before assigning a pod to the nodes.

If there are no errors during the verification, the pod will be scheduled on the node.

Tainting — Node

To taint a node , specify the node name to taint followed by a taint itself which is a key value pair.

Taint-effect defines what would happen to the PODs if they do not tolerate the taint.

kubectl taint nodes node-name key=value:taint-effect
A taint can produce three possible effects:

  1. NoSchedule: The Kubernetes scheduler will only allow scheduling pods that have tolerations for the tainted nodes.
  2. PreferNoSchedule: The Kubernetes scheduler will try to avoid scheduling pods that don’t have tolerations for the tainted nodes.
  3. NoExecute: Kubernetes will evict the running pods from the nodes if the pods don’t have tolerations for the tainted nodes.

The three taint effects can be seen here:

# kubectl taint nodes node1 key1=value1:NoSchedule
# kubectl taint nodes node1 key1=value1:NoExecute
# kubectl taint nodes node1 key2=value1:PreferNoSchedule

Tolerations — POD’s

To add a toleration to the POD, pull up the pod-definition file, under spec section, add tolerations section and in this section move all the values thats specified while placing taint on the node.

kubectl taint nodes node1 app=blue:NoSchedule

Taints and Tolerations are only meant to retsrict nodes from accepting certain PODs. It does not gurantee that the POD with the toleration will be kept only placed on the node with taint.

Since there won’t be any taints on other nodes, the POD with toleration can very well be placed on other nodes.

Taints and Tolerations does not tell the POD to go to a particular node. Instead, it tells the node to only accept PODs with certain Tolerations.

Deploy node with a taint

To add a taint to an existing node, you can run the following command:

kubectl taint nodes node-name key=value:effect

Example: kubectl taint nodes node-main taint=test:PrefereNoSchedule

To show taint of your node you can run this command:

kubectl describe node

Deploy a pod with a specific node

Now that your nodes are tainted, here is an example to add tolerations to your pod:

apiVersion: v1
kind: Pod
metadata:
name: nginx-toleration
labels:
env: test
spec:
containers:
- name: nginx
image: nginx
imagePullPolicy: IfNotPresent
tolerations:
- key: "taint"
value: "test"
effect: "PrefereNoSchedule"

Taint and toleration are useful if you want to work with dedicated nodes. With dedicated nodes, you can create a node pool with very specific parameters (for example high CPU) and use these nodes only for specific applications.

You also can separate your applicative pods from those of your secondary applications.

--

--

Always learning

கற்றுக் கொள்ளும் மாணவன்...